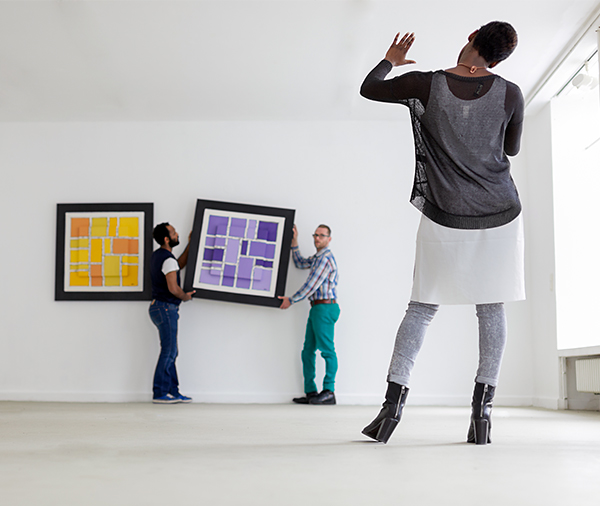
We've all seen it. Great artworks, grouped all wrong and hung way too high. You might even have seen it in your own living room. The good news? There's a simple fix. There are as many ways to hang art as there are works of art, but here are some basic instructions you can employ to bring a gallery sensibility to your own home.
1: Choose the right hanging hardware, usually a combination of picture wire for the artwork and hangers for the wall. Most hardware stores sell packaged picture hangers (a nail-and-hook combination) that suggest a weight limit. If weight is an issue, you may need to put screws into studs but commercial picture hangers in the drywall (not the studs under it) are sufficient for most home applications.
2: Attach picture wire to the back of your artwork. Small eye hooks work well. Use an awl to make a starter hole or pre-drill the frame. Be careful to protect the art while doing this and never hammer the frame! Put the wire about one-third of the way down from the top of the work. The wire should not be too taut nor so loose that it's visible above the artwork when hanging.
3: Decide on the location for your artwork. You'll need to take a number of things into consideration, such as proximity to other art, furniture, appliances and windows. Preventative conservation requires that you keep in mind that direct sunlight and rapid changes in heat and humidity are bad for original art. This means you might want to keep your art away from the bathroom, the space above the fireplace or the wall across from the picture window.
4: Art galleries usually hang a work with a common centre that is 56 inches (1.4 metres) from the ground, but they often hang a larger work lower. In case of a series, they may hang all works with a common bottom line or common top line (flush top or bottom) rather than a common centre. Whether a single or a series, in your home you'll want to adjust the hanging height to accommodate ceiling heights and concerns mentioned in tip No. 3.
5: When grouping a number of pieces, first lay them on the floor as you think they'd look best on the wall. Take measurements and transfer these measurements to the wall. You can use green painter's tape to mark locations on the wall.
6: Place hangers in the wall at the desired height, taking into consideration the final height you'd like for the art and the tautness of your hanging wire. Two hangers should be used for each piece, making the art more likely to remain level.
7: Once the work is hanging, level it using the spirit or bubble level. Even ornate or decorative frames usually have a straight edge somewhere, often the interior of the frame closest to the art work, so place the level on a straight edge and adjust.
About the author: If you've been to the University of Alberta's FAB Gallery, you may have seen Blair Brennan, FAB's galleries and exhibitions manager, helping showcase some of the best artwork in Canada.
A version of this story originally appeared on Curiousarts.ca.
***
What you need to get started:
- Picture hangers
- Picture wire
- Wire cutters
- Small eye hooks
- Awl, pliers, drill
- Hammer
- Tape measure
- Green painter's tape
- Spirit level (also called bubble level)
We at New Trail welcome your comments. Robust debate and criticism are encouraged, provided it is respectful. We reserve the right to reject comments, images or links that attack ethnicity, nationality, religion, gender or sexual orientation; that include offensive language, threats, spam; are fraudulent or defamatory; infringe on copyright or trademarks; and that just generally aren’t very nice. Discussion is monitored and violation of these guidelines will result in comments being disabled.